Here is how you can integrate a booking widget for appointments by the MotoPress WordPress Appointment Booking plugin. The content sourced from this plugin will inherit styling from your default Total theme configuration (colors, typography, buttons, etc.).
Step 1. Go to the Settings menu to designate default settings
Appointments → Settings
General
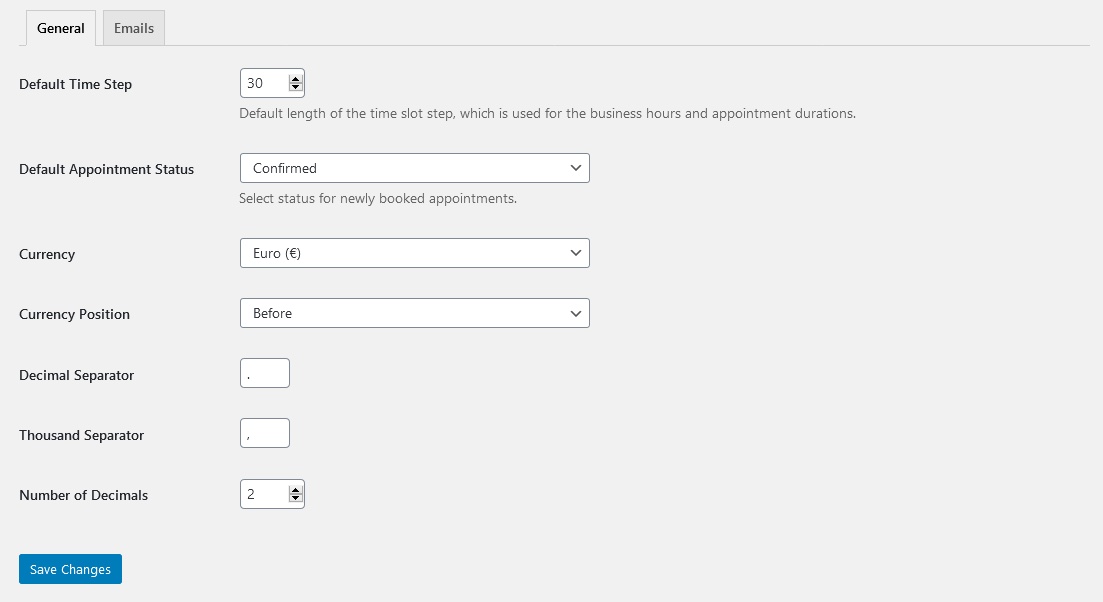
Here you can set up the currency, booking confirmation modes, and default time slots for appointments. If you want to create an appointment that lasts 1h and 10m, for example, your default time step must be at least 10 minutes.
Emails
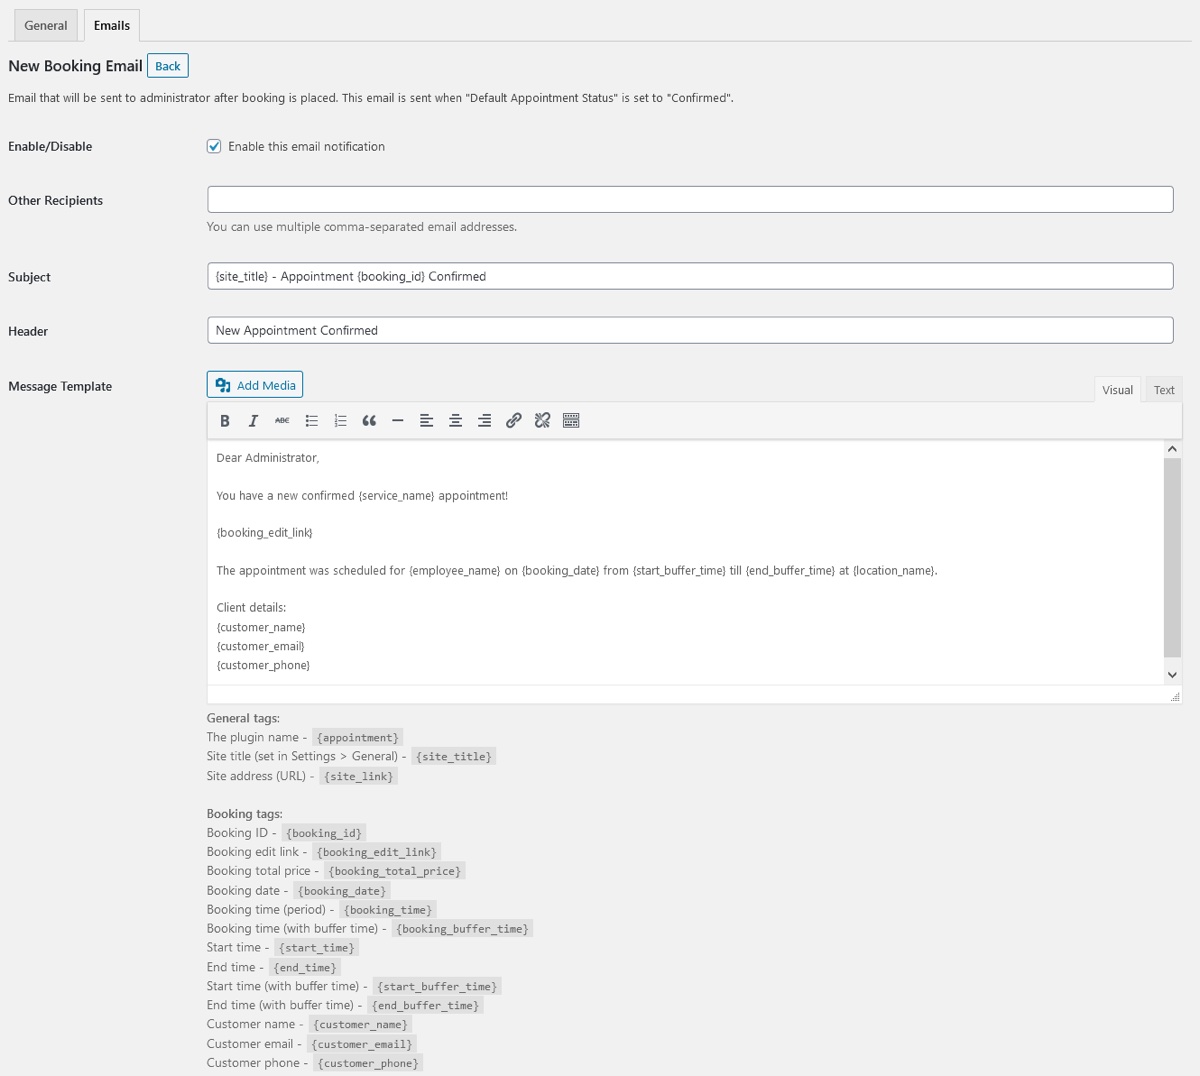
In this tab, you can customize automated email notifications that are sent to a customer and admin upon new bookings. Which types of emails are sent depends on the Default Appointment Status you can select in the General menu.
The content of emails can contain macros – tags you need to paste into the email and they will get automatically replaced with the actual client info.
Admin emails
- New Booking Email – is sent to you when the default booking status is set to ‘confirmed’.
- Pending Booking Email – is sent to you when the default booking status is ‘pending’ (you need to go through each one manually).
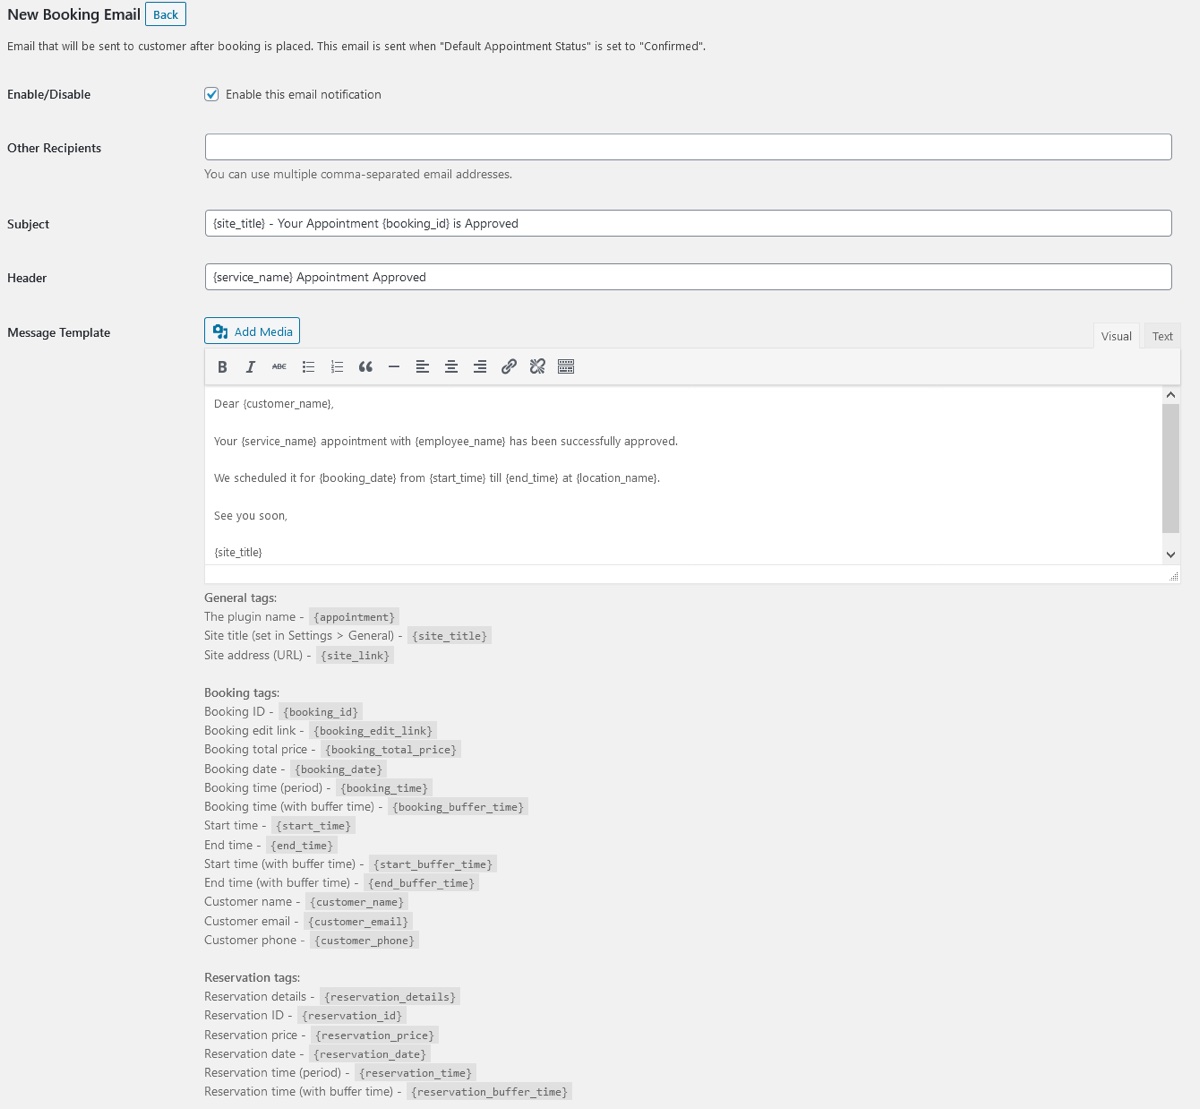
Customer emails
- New Booking Email – is sent to customers when their booking request is confirmed upon submission.
- Pending Booking Email – notifies customers that their booking request is on hold.
- Approved Booking Email – is sent to customers after you manually confirmed their booking.
- Canceled Booking Email – notifies customers that their booking is canceled.
Step 2. Add employees
Employees menu → Add new
You can add unlimited employees – they will be visible in the booking form and you can optionally build team/staff pages using employee information sourced from the plugin.
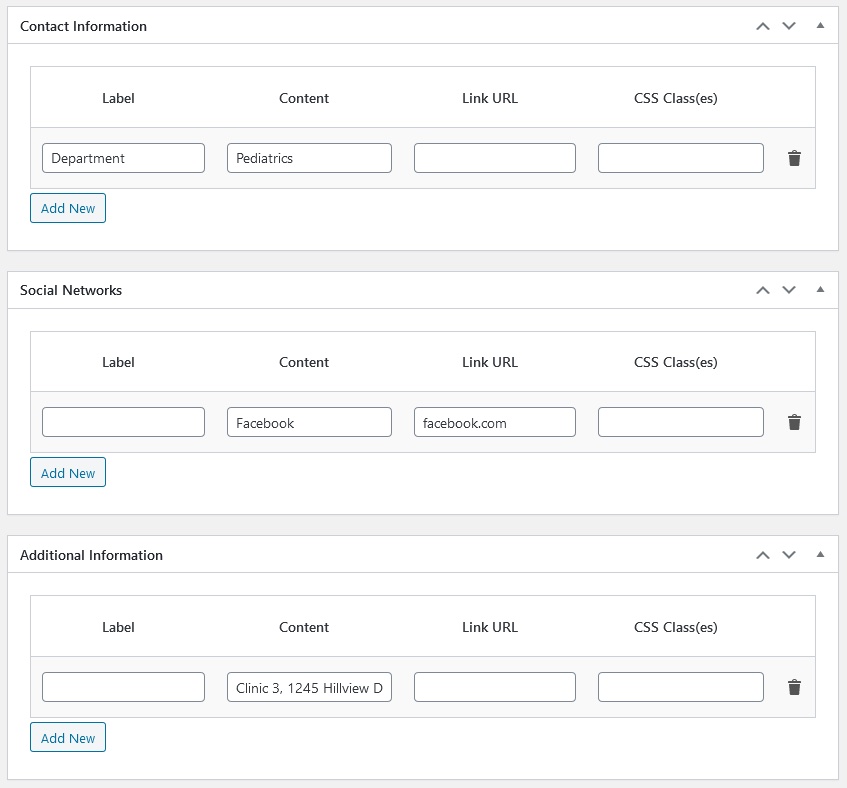
In addition to the bio, skills and photo, there are dedicated blocks for displaying more structured information about a staff member. You can optionally fill in these blocks too:
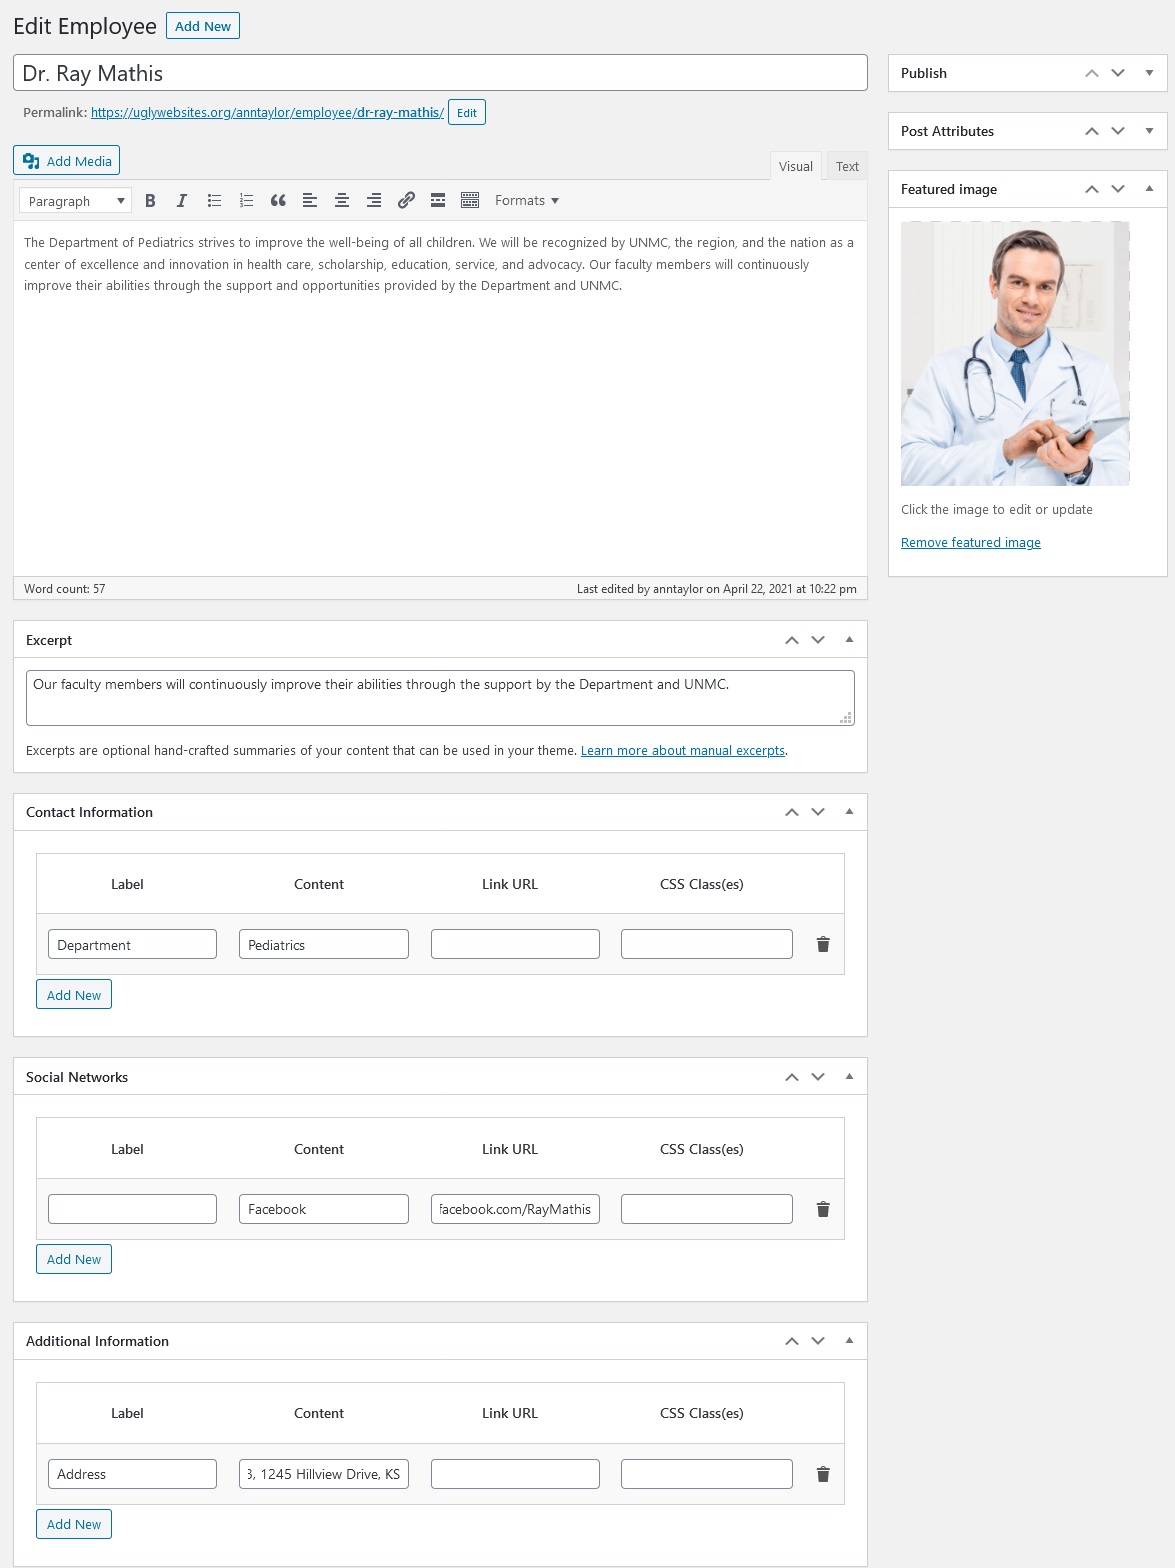
This information can be displayed in the listing of employees or on an individual page. Its look will depend on your Total theme settings (typography, colors, sizes, etc.).
Step 3. Add locations
Locations → Add new
Here you can add different categorized locations (cities, shops, salons, departments, classrooms).
You can allow clients to choose a location when they are placing a booking.
You may optionally add a location description and image if you’re going to create a list of locations on a dedicated page.
Step 4. Schedule employees’ working hours
Schedules → Add new
In this menu, you can configure the duties of your employees.
In General Settings, choose an employee and their primary location.
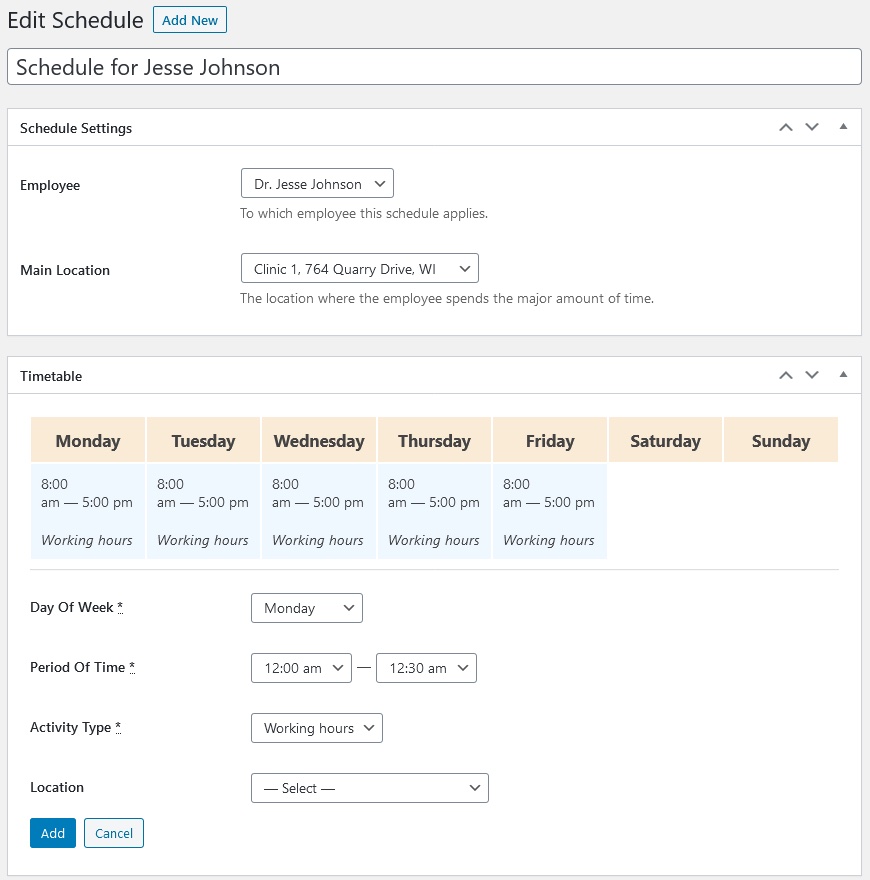
Then create a timetable for weekdays and optionally weekends. You can add:
- Regular working hours
- Set lunchtime and break durations
- Optionally change a location for chosen days
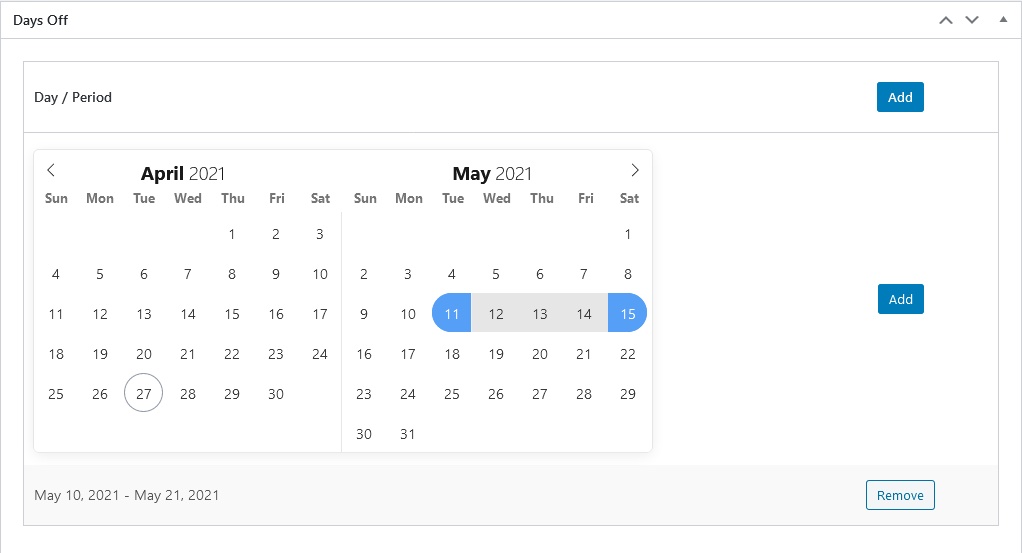
Additionally, you can add days-off or extra custom working times by selecting dates on the calendar.
Step 5. Add Services
Services → Add new
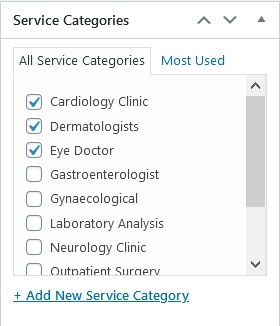
The services are actual bookable slots. In addition to the service details, it’s important to add a service category – you can then optionally display it in the booking form and speed up the search process for customers.
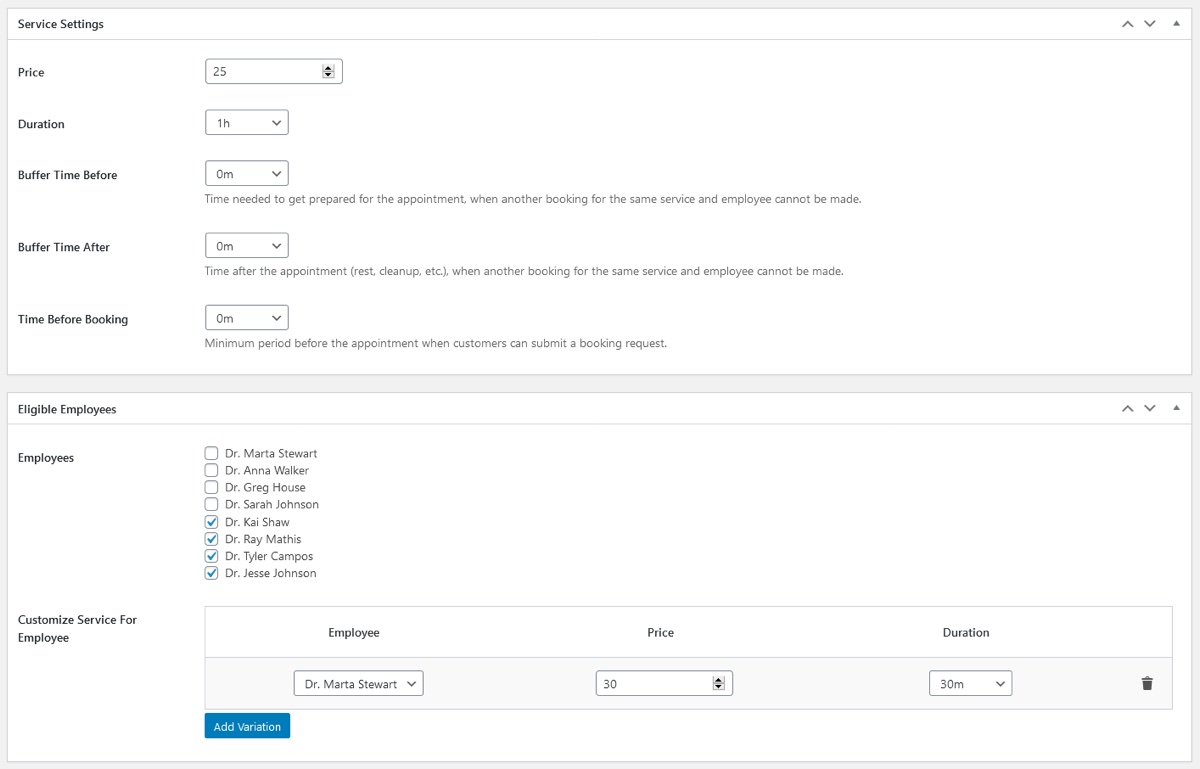
Customize each service using the following settings:
- Service price (the currency sign is configurable via the Settings menu)
- Service duration (you can customize the minimum time step you set via Settings)
- Buffer times before and after the service (optional extra preparation time added to the service duration – invisible to your clients)
- A time before booking globally for the service
- Assign employees who can perform the service
- Customize the regular service price and duration based on the assigned employee.
You can also add a text description and image if you plan to show them in the services listing or create individual pages for these services.
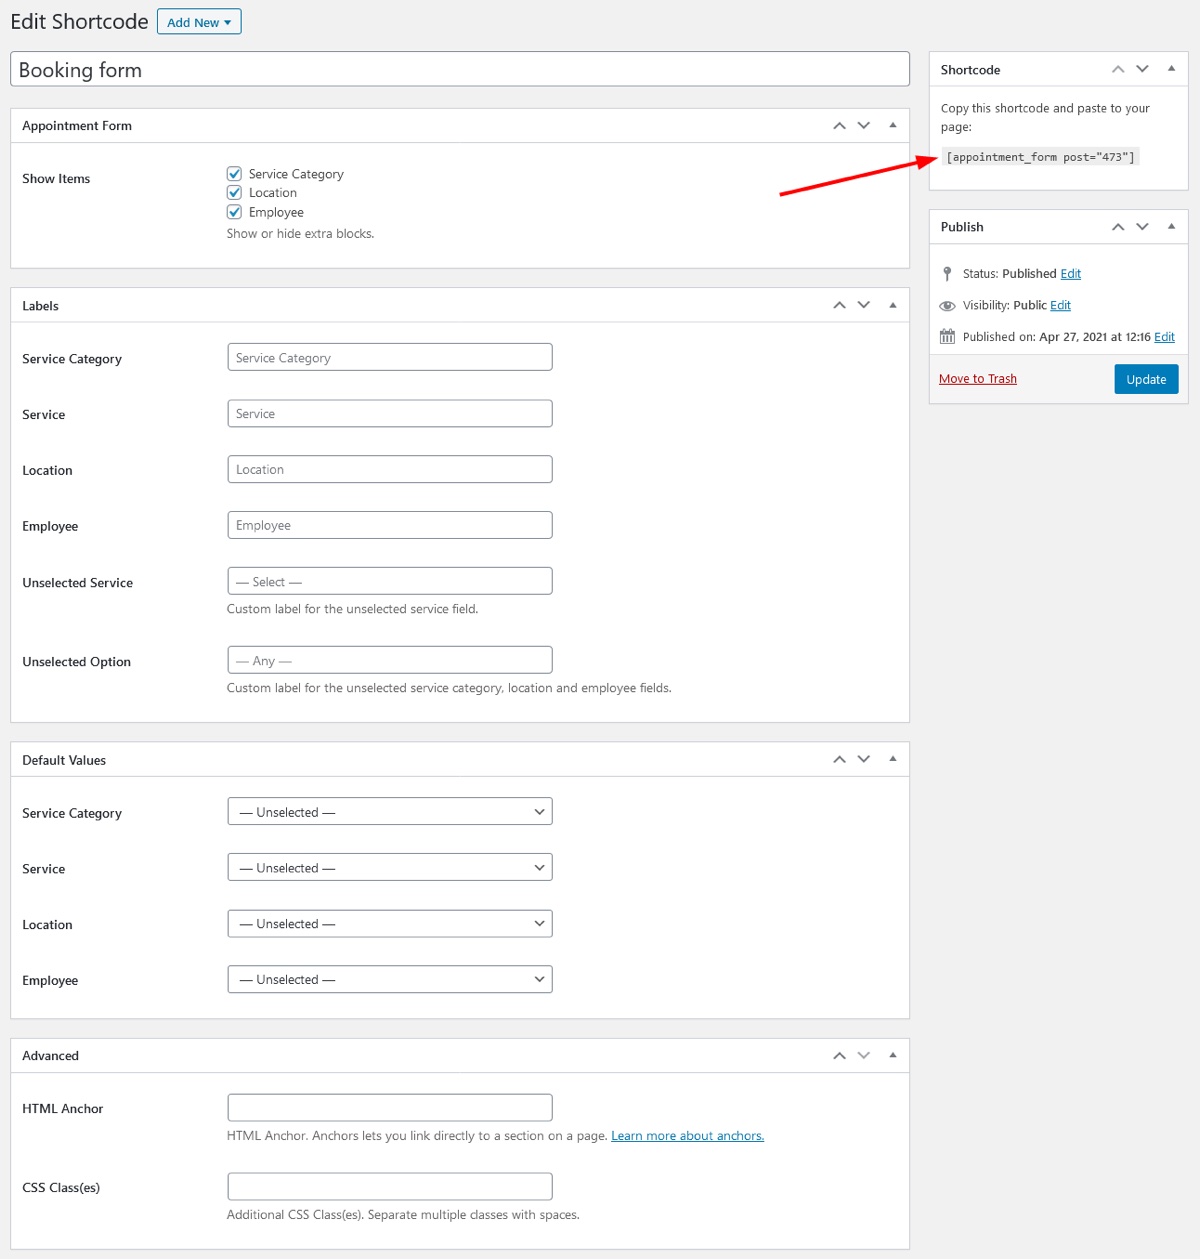
Step 6. Add a booking form to your WordPress site
Appointments → Shortcodes → Add New → Appointment Form
Before pasting a booking form widget to the site, you can customize it, for example, add or remove fields, using a visual Shortcode generator:
- Decide which form fields to show/hide (Service is the only required one)
- Rename form fields
- Set services, employees, etc. displayed by default
- Optionally add CSS or custom HTML
Once you are done with your preferences, save the changes and the shortcode will be automatically generated:
Then you just need to paste it to your site – use the Shortcode block by the block editor or the Shortcode widget by any other third-party builder:
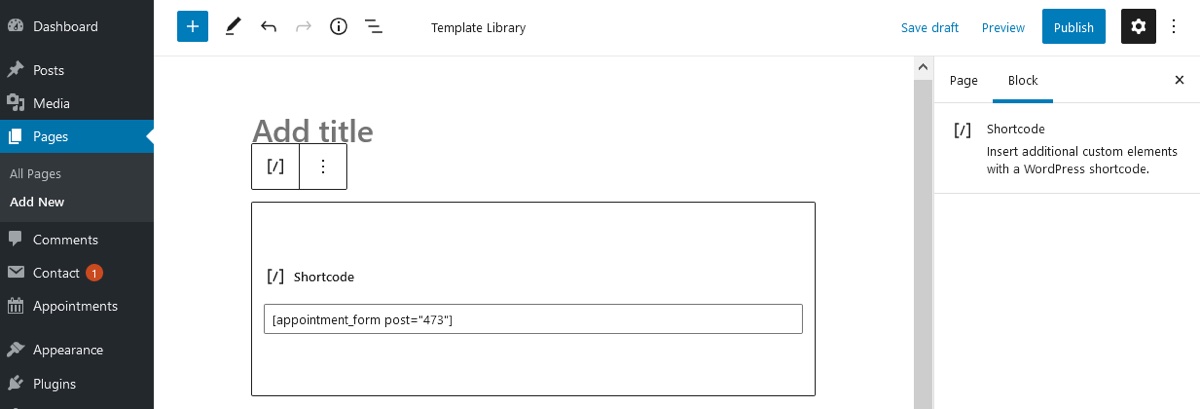
The form will be generated:
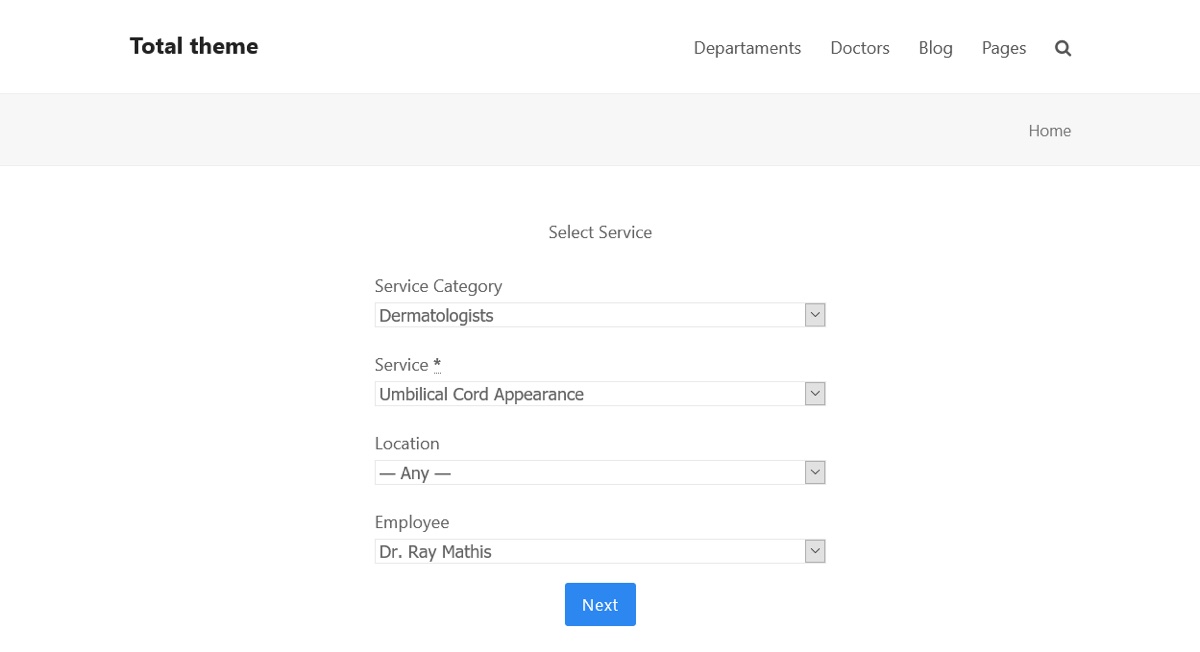
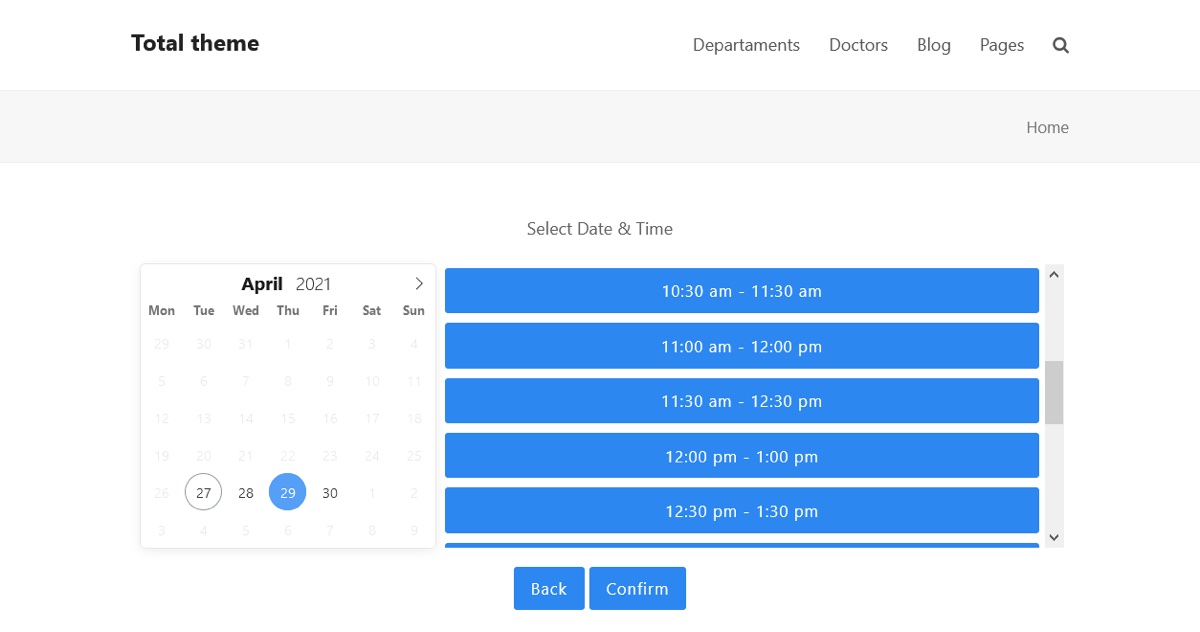
Clients will be offered to complete several steps to submit a booking. On the next step, they will need to choose a date and time for the selected service:
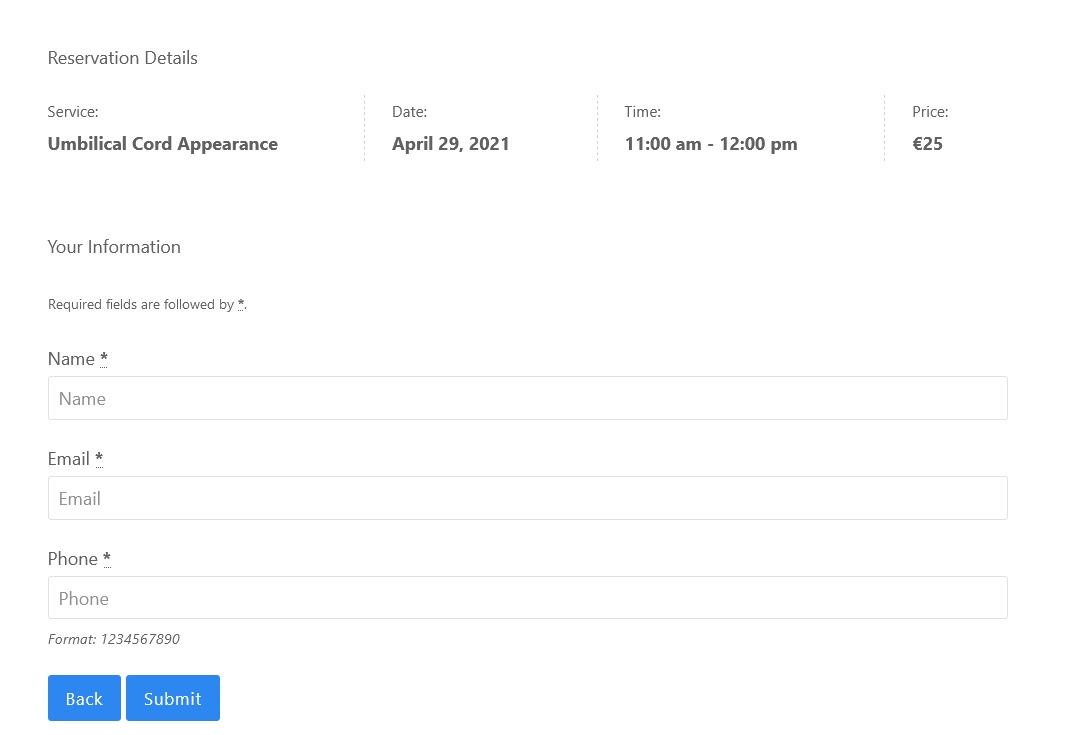
On the final step, clients provide their information and submit their bookings:
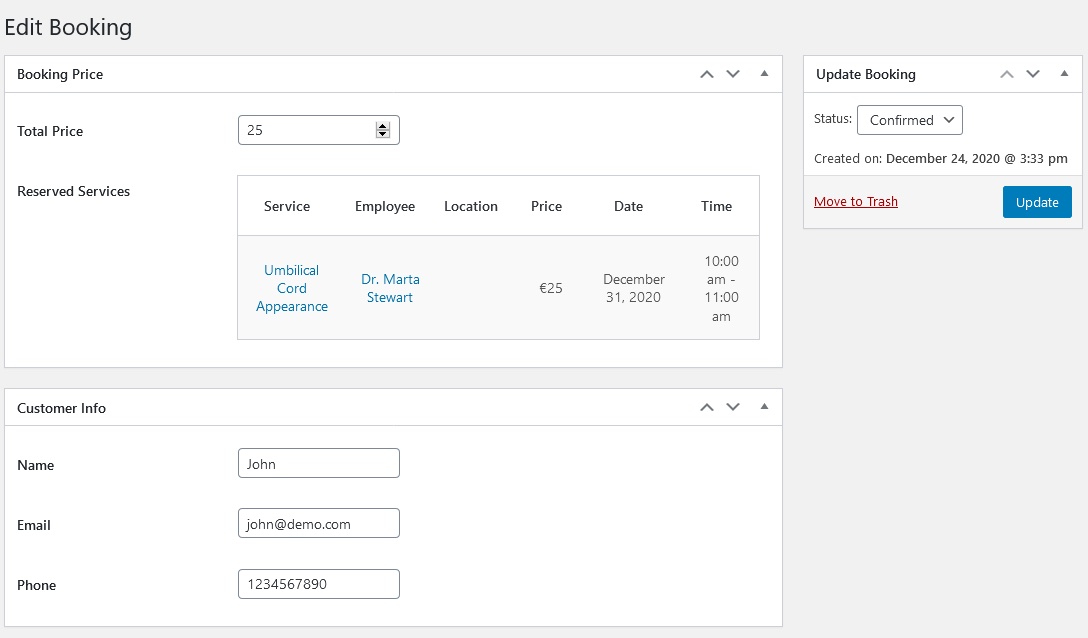
You’ll be able to track all bookings via the Bookings menu – there you can change the booking status and price as well as edit the client information:
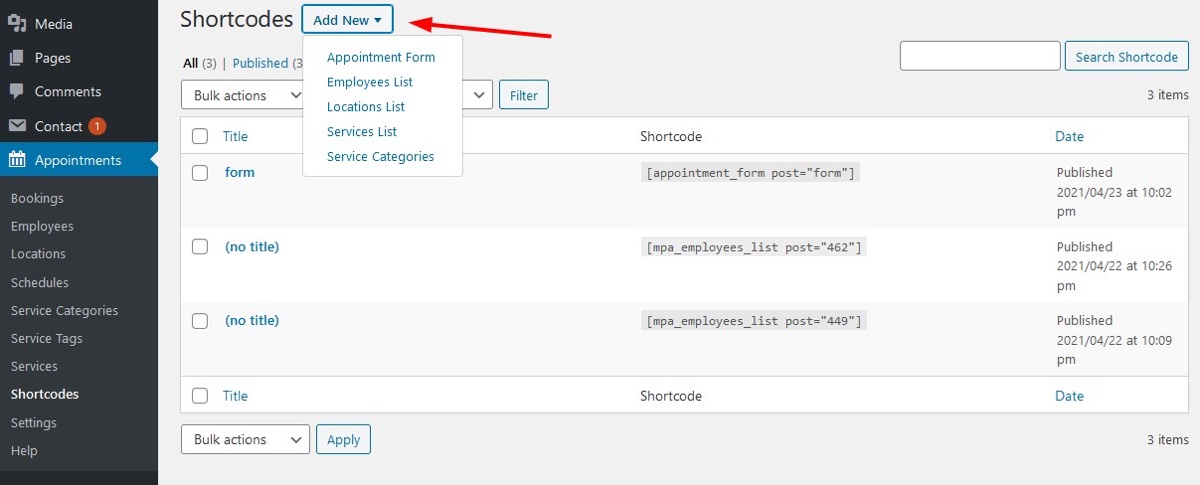
Step 7. Add service/employee/location listings to the site
Appointments → Shortcodes → Add New
The MotoPress Appointment Booking plugin also allows for easy service/employee/location displaying on the site with the help of shortcodes you can generate in the visual mode just as for the appointment form. This is helpful when you need to build team pages, service directories, etc.
Start with choosing the needed shortcode and apply the needed parameters. As for the IDs, use regular WordPress post IDs.
Employees

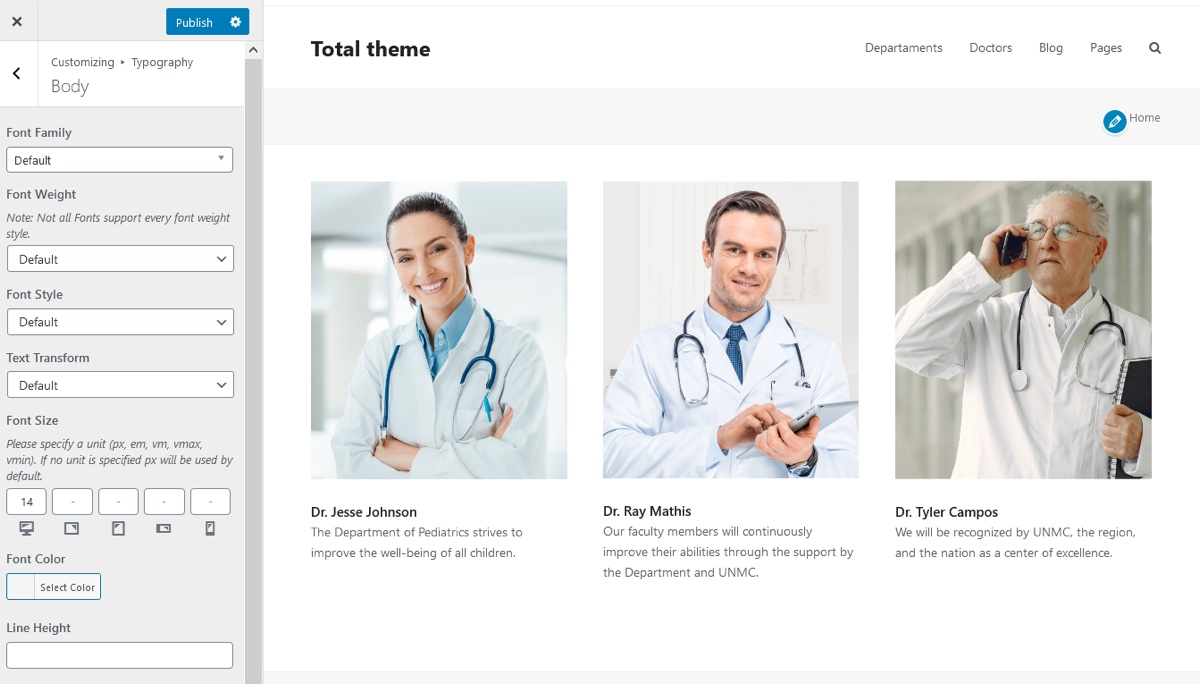
For example, you can create a list of employees and feature their names and some short bio. Don’t forget that typography and colors can be altered via the Customizer:
If you use several same shortcodes on different pages, you can apply changes to individual shortcodes using shortcode parameters from the Help menu.
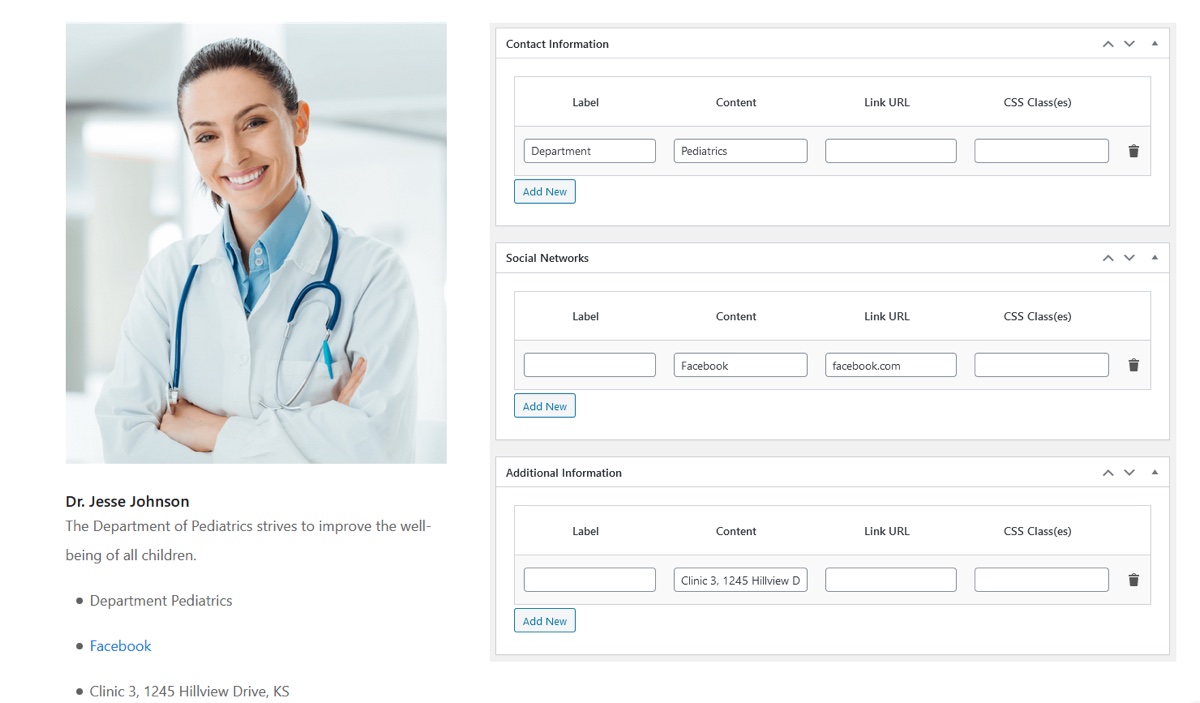
Individual employee page
Additionally, you can build more informative employee pages using dedicated blocks in the employee profile:
You can display this extra info in a listing or a dedicated employee’s page.
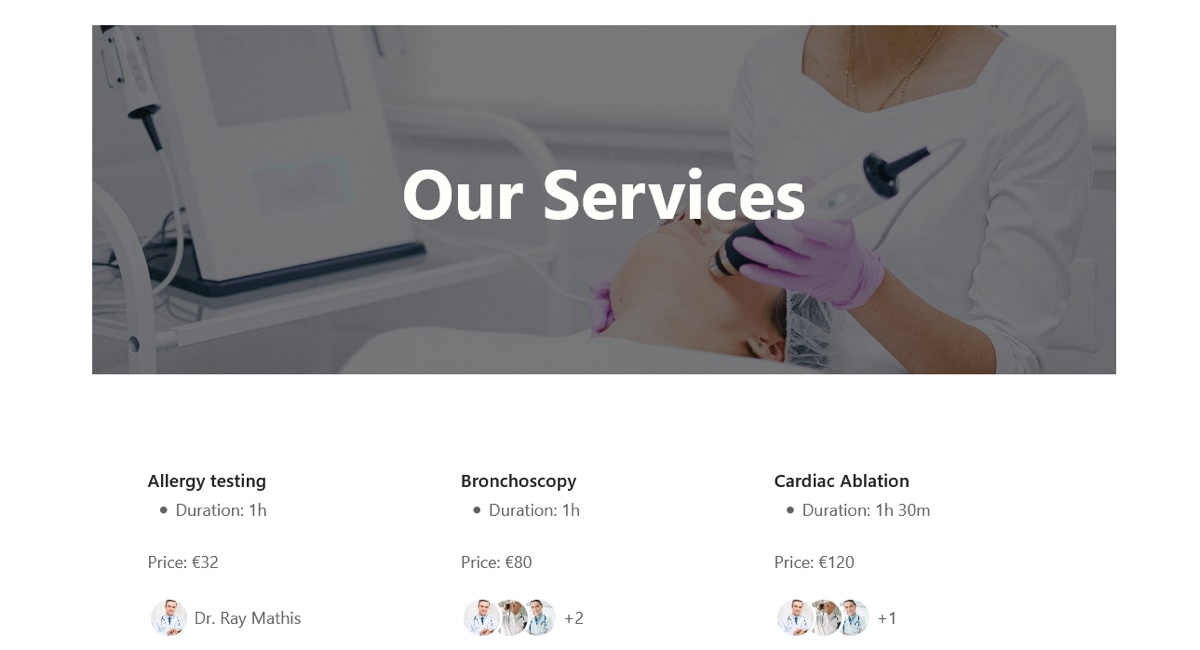
Services
You can list services with their prices and descriptions. You can also optionally show photos of employees – if there is just one person, the service will be displayed with the person’s name; if there are many employees – only photos will be displayed.
You can do the same for locations and categories.