The Total WordPress theme also includes “Header Builder” functionality which allows you to create a custom template using the page builder of your choice (WPBakery, Elementor or Gutenberg) add any content you want then display this as a replacement of your main header.
This unique feature will give you 100% control over the header and how it looks. Perfect if all you want is a simple logo and some text or if you want something more complex using 3rd party menu plugins, parallax images or more!
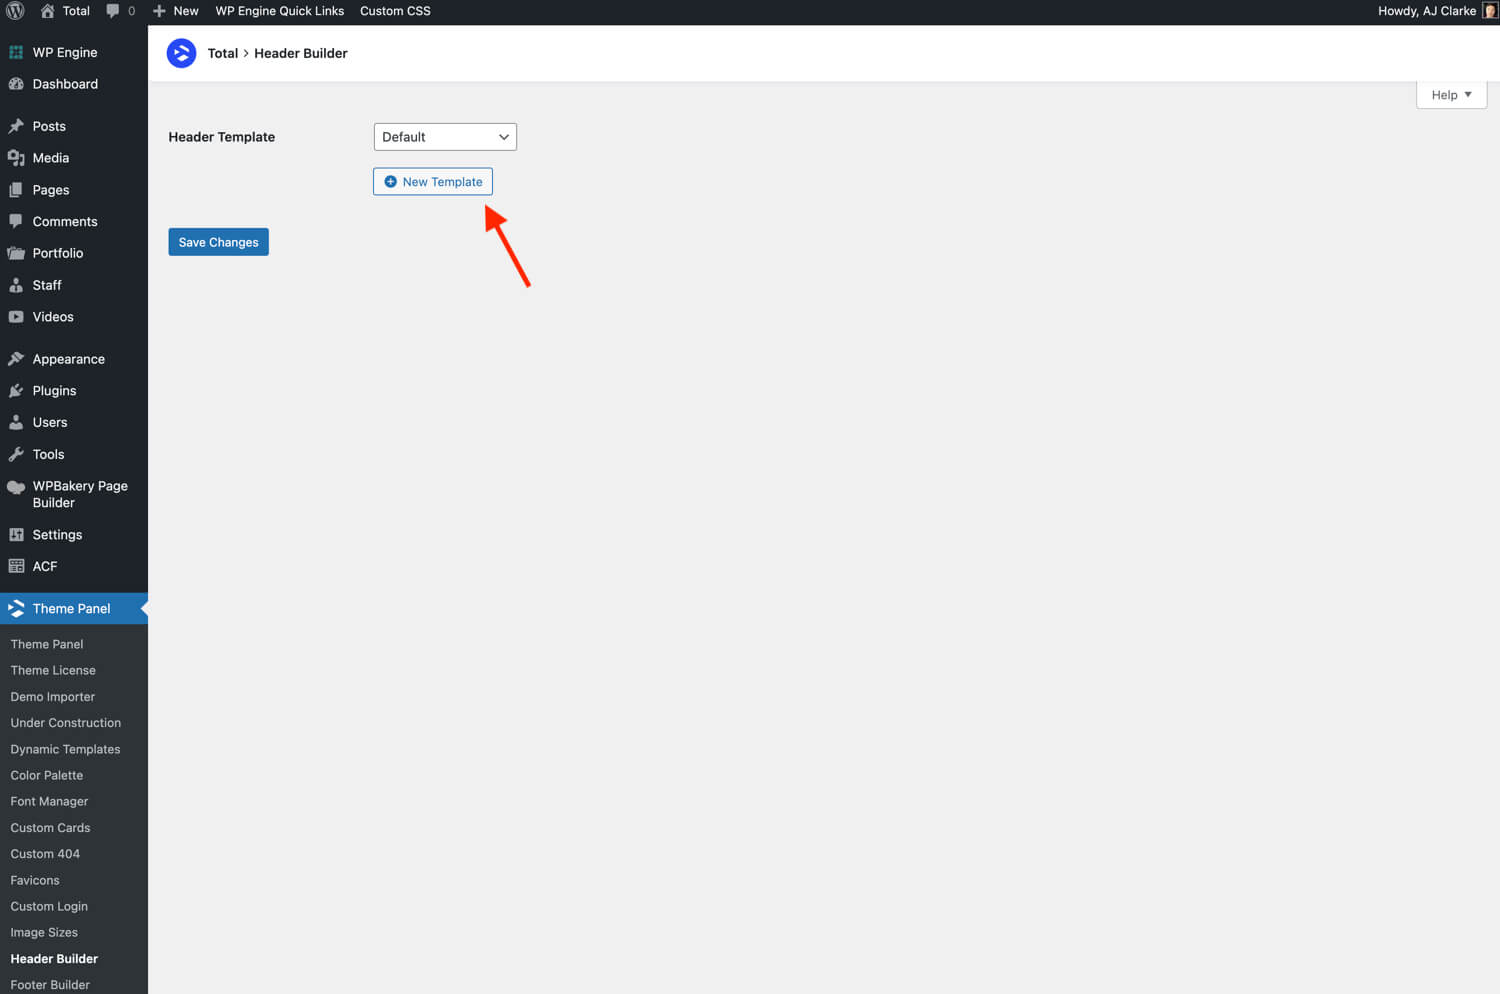
Step 1 – Create a New Template
The first step is to create a new template which you can do directly from Theme panel > Header Builder or by going to Theme Panel > Dynamic Templates (the former is easiest).
Step 2 – Edit your Template
Now that you’ve created your header template you can go a head and edit the template by clicking the edit buttons (note, if you are using Gutenberg or Elementor you will only see the “Backend Edit” button).
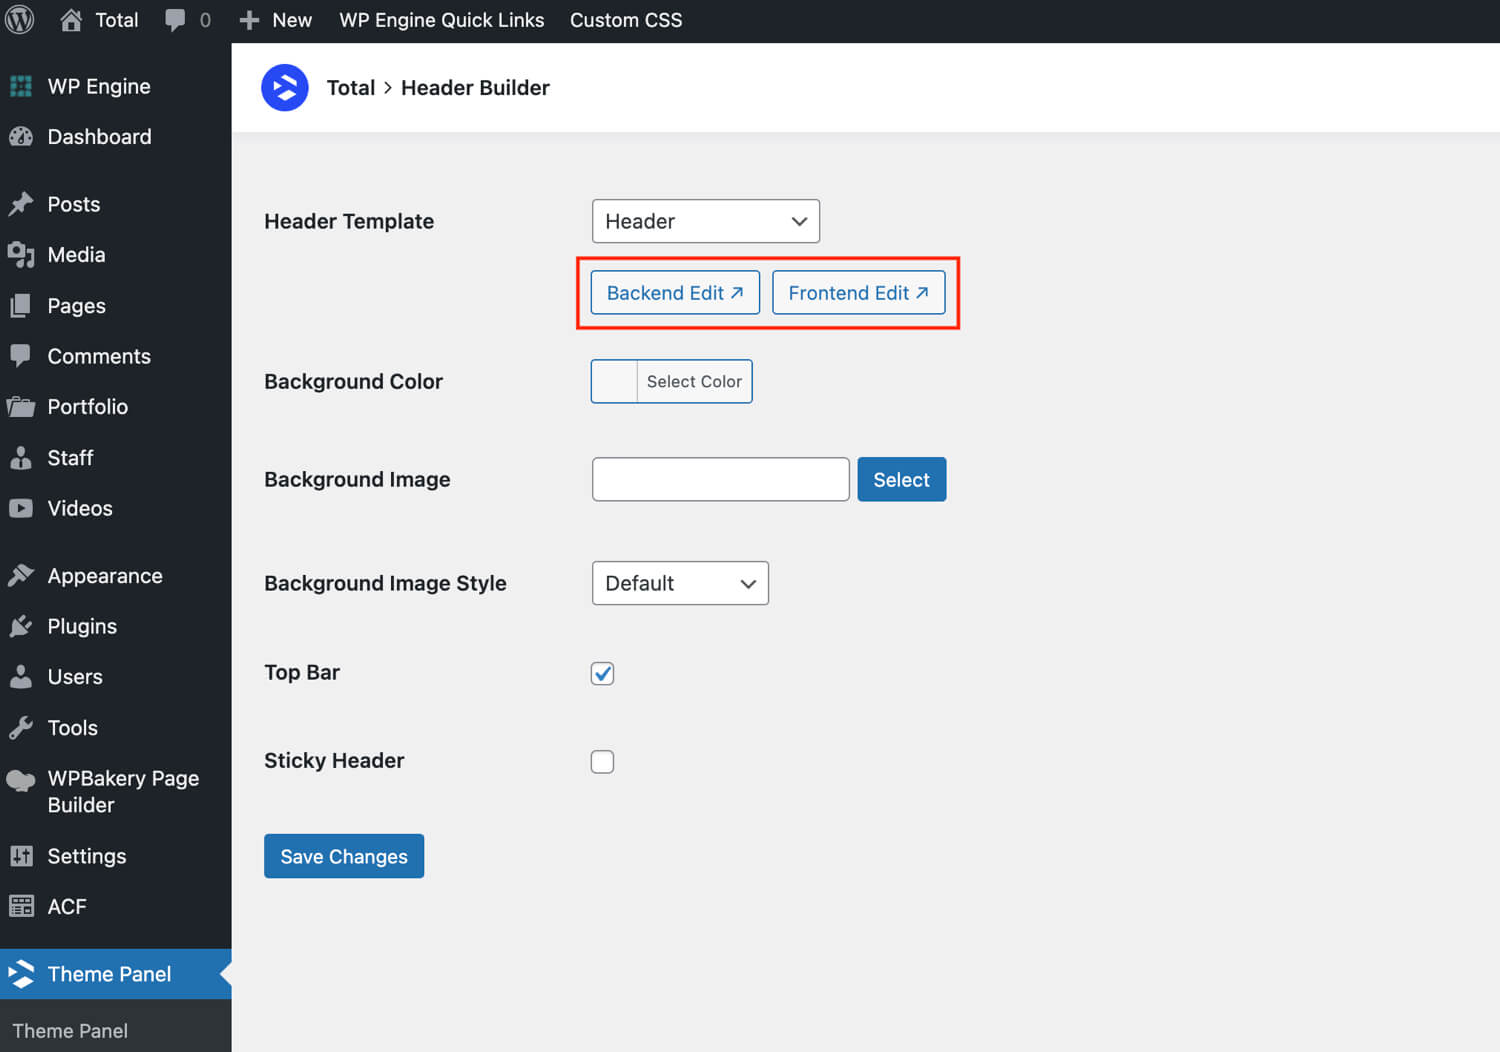
When creating a template with WBakery or Elementor you will be able to edit the template while at the same time visualizing it on the live site!
Elementor Note: If you are using Elementor the Header builder allows you to create a custom header without needing the pro version of the plugin. However, Total also supports the Elementor Pro Theme Builder. If you are using Elementor Pro we recommend disabling the Total Header/Footer builder features via the Theme Panel and using the Elementor Theme Builder instead.
Recommended Add-on Plugins for Your Header Builder
When using the header builder function everything is replaced with your custom content (logo, menu, header aside content, etc). So you’ll need to add your logo, menu, etc. Below are some nice plugins that could be useful to integrate into your custom header.
- Groovy Mega Menu
- Uber Menu
- Max Mega Menu
- Clever Mega Menu (free version also available here)
- Quad Menu